Articles in this section
Xero Integration
Feature Availability
Vtiger Editions: One Professional | One Enterprise | One AI
Introduction
Xero is a powerful cloud-based accounting software that helps businesses manage their finances efficiently. If you connect Xero to multiple bank accounts and applications, you can also integrate it with Vtiger CRM. This integration enables seamless synchronization among sales, customer data, and financial records. As a result, invoices, payments, contacts, and other financial information are automatically updated across both apps, reducing manual data entry and improving accuracy.
To integrate Xero with Vtiger CRM, you first need to install the Xero app from the Add-ons page.
Key Features
The key features of integrating your Xero account with Vtiger CRM are:
- Automatic One-way and Two-way Data sync between Xero and the following Vtiger modules - Organizations, Products/Services, Invoices, and Payments.
- Inventory Management with real-time notifications.
- Xero payments records tracking in the Vtiger CRM.
Benefits
The benefits of integrating your Xero account with Vtiger CRM are:
- Cloud-based accounting: You can access Xero data anywhere, anytime.
- Easy and customized invoicing: Sync Vtiger invoices to Xero for online invoicing. You will also be notified when your customer opens the Invoice.
- Manage your data in one place: Integrating with Xero brings all your data to Vtiger CRM.
- Eliminate Duplicate Entries: The data sync removes duplicate data entry by automatically synchronizing customer data between Vtiger and Xero.
- Enhanced Sales Decision-Making: With real-time access to financial data, including outstanding invoices and payment history, your sales teams can make informed decisions before engaging with customers.
In this article, you will learn about:
- Installing the Xero Add-on
- Configuring your Xero account in Vtiger CRM
- Mapping CRM fields with Xero fields
- Syncing Data
- Limitations and Troubleshooting Tips
Key Terminology
|
|
|
|
|
|
|
|
|
|
|
|
Field Mapping
The following shows the field mapping between Vtiger and Xero modules:
- Organizations and Contacts to Contacts
- Products and Services to Inventory Items
- Invoices to Invoices
- Payments to Payments
Organizations
Vtiger Organizations are synced with Xero Contacts. The related contacts of an Organization record in Vtiger are added as related people in the Xero Contact record.
The Vtiger Organization record's primary contact is synced as the Primary Person in the Xero Contact record. However, the order of other contacts in Xero may change. The field values for Vtiger Contact Type and Vtiger Organization Type are determined based on the records linked to the Xero contact.
The following table shows how the fields in the Vtiger Organizations module are mapped to the Xero Contacts module:
|
|
|
|
|
|
|
|
|
|
|
|
|
|
|
|
|
|
|
|
|
|
|
|
|
|
|
|
|
|
|
|
|
|
|
|
|
|
|
Vtiger to Xero Sync
Vtiger Organizations are synced with Xero Contacts. If a Vtiger Organization has related contacts, they are added as related people in the Xero Contact.
The primary contact for a main contact in Xero is retained even after the sync process is completed. Vtiger Contact Type and Vtiger Organization Type field values are set based on the records associated with the Xero contact. For example, if an Xero contact has both Invoices and Bills associated with it, the Vtiger Contact Type and Organization Type are set to the Customer & Vendor values.
The table below shows the different Fields and their values:
|
|
|
| | |
| | |
| | |
| | |
Note: Any updates to Xero records will be reflected in the corresponding Vtiger records.
Xero to Vtiger
The main Contact and its people in Xero are added as Organization and related contacts in Vtiger. Consider the following cases when you sync records from Xero to Vtiger:
|
|
|
| | |
| | |
| | |
| | |
Products and Services
When you sync Products or Services, Vtiger's products and services are added to Xero's Inventory module.
The following table shows the fields in the Vtiger Products or Services module synced to the Xero Products or Services module:
|
|
|
|
|
|
|
|
|
|
|
|
|
|
|
Consider the following cases while syncing Products and Services:
- In the Xero Settings page, you can configure field mapping for Products and Services.
- If you map the Product name to the Item name, the Part number will be automatically mapped to the Item code.
- If you map the Product name to the Item code, the Part number will be automatically mapped to the Item name.
- If you map the Product name to the Item code, the Product name value in Vtiger will automatically be synced to the Item code value in Xero and vice versa.
Note:
- For existing Vtiger customers, the current mapping of Product Name to Item Code will be retained and will continue to function until you manually change it.
- If you are a new Vtiger customer, you can map the Product Name to the Item Name, and the Part Number is mapped to the Item Code by default.
Invoices
The following table shows how the fields in the Vtiger Invoices module are mapped to the Xero Invoices module:
|
|
|
|
|
|
|
|
|
|
|
|
|
|
|
|
|
|
|
|
|
|
|
|
|
|
|
|
|
|
|
|
|
|
|
|
Limitation
The Base Currency of the Invoice in both Xero and Vtiger must be the same.
Quotes
The following table shows how the fields in the Vtiger Quotes module are mapped to the Xero Quotes module:
|
|
|
|
|
|
|
|
|
|
|
|
|
|
|
|
|
|
|
|
|
|
|
|
|
|
|
Note: Two-way sync for Quotes will help you eliminate manual data entry, automate quote conversion, and improve coordination between sales and finance teams.
Payments
To sync Payment records, ensure that the Payment Status is Received and the related Invoice Status is Approved, Paid or Partially Paid.
The following table shows how the fields in the Vtiger Payments module are mapped to the Xero Payments module:
|
|
|
|
|
|
|
|
|
|
|
|
Installing Xero
You must install the Xero Add-on from the Add-ons page before integrating it with Vtiger CRM. You need to be an admin to access the Add-ons page.
Follow these steps to install Xero:
- Log in to your CRM account.
- Go to the main Menu.
- Click Add-ons.
- Search for Xero using the search bar.
- Click Install.
- Click Yes to confirm
After you successfully install the Xero Add-on, you can see it under the Extensions section in the Settings page.
You can sync the CRM data with the Xero app from the List View of the following modules:
- Organizations
- Products
- Services
- Invoices
- Payments
Note:
- You can configure Xero only as an Admin user.
- Log in to your Xero account to configure it in Vtiger. Since you will navigate between Vtiger and Xero, keep both tabs open.
Configuring Xero
Configuring Xero in Vtiger CRM involves the following steps:
- Authenticating Xero
- Mapping Fields
- Syncing Records
- Mapping Accounts
Follow these steps to configure Xero in Vtiger CRM:
Step 1: Authenticating Xero
Follow these steps to authenticate Xero in Vtiger CRM:
- Log in to your CRM account.
- Go to the main Menu.
- Click Settings.
- Select Xero under the Extensions section.
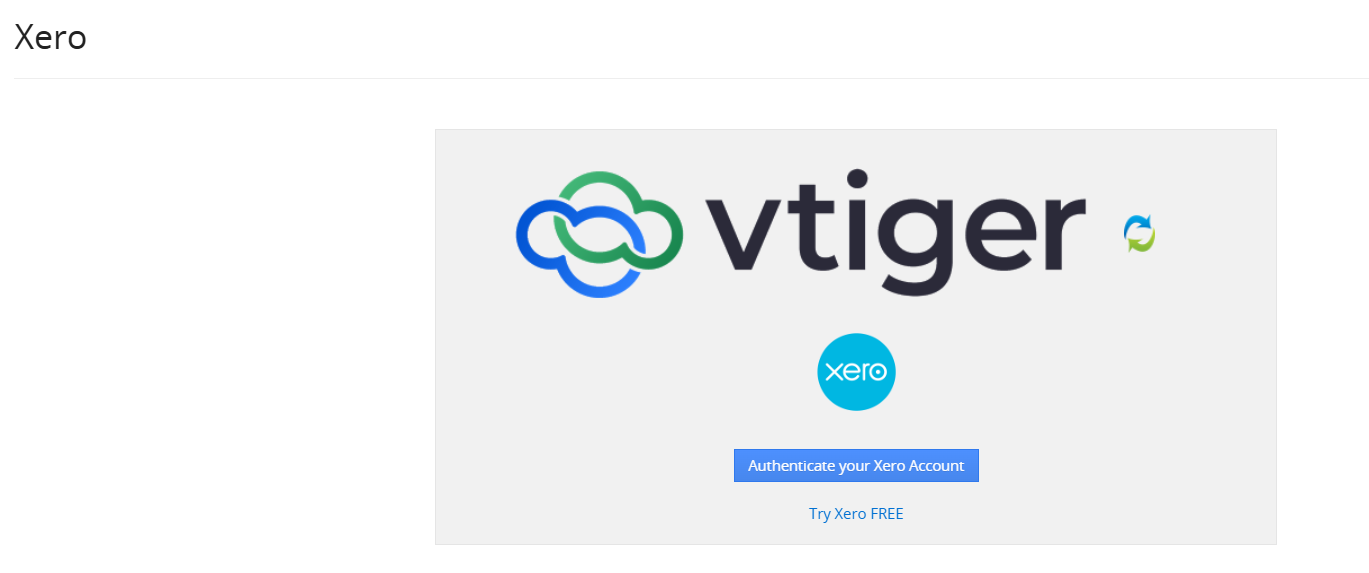
- Click Authenticate your Xero Access. The Xero account login page opens.
- Enter your Xero account credentials.
- Click Login.
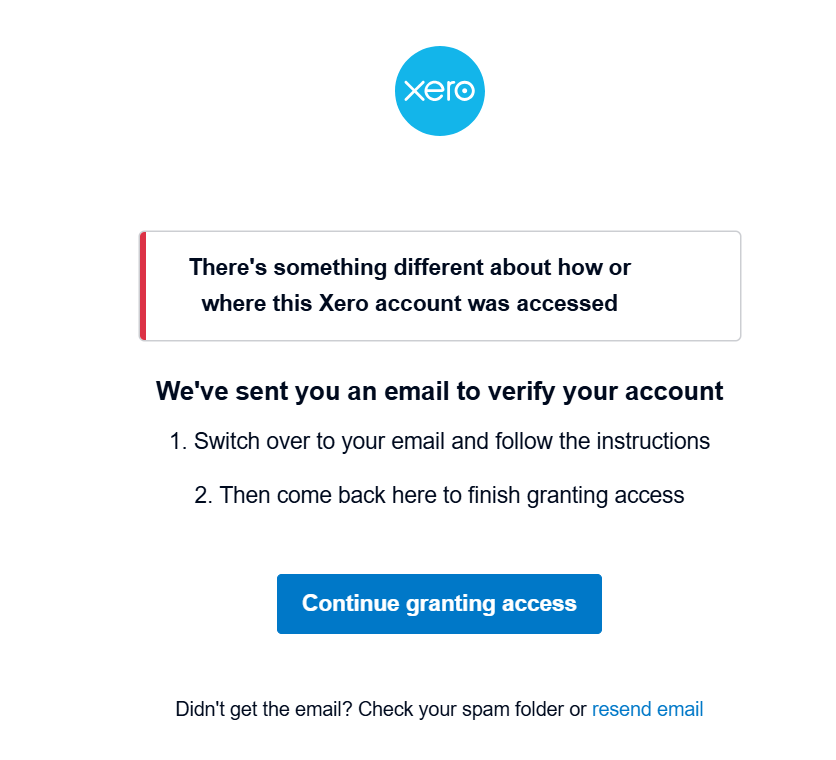
- Click Continue Granting Access.
- Verify your login.
- Go to the Xero account.
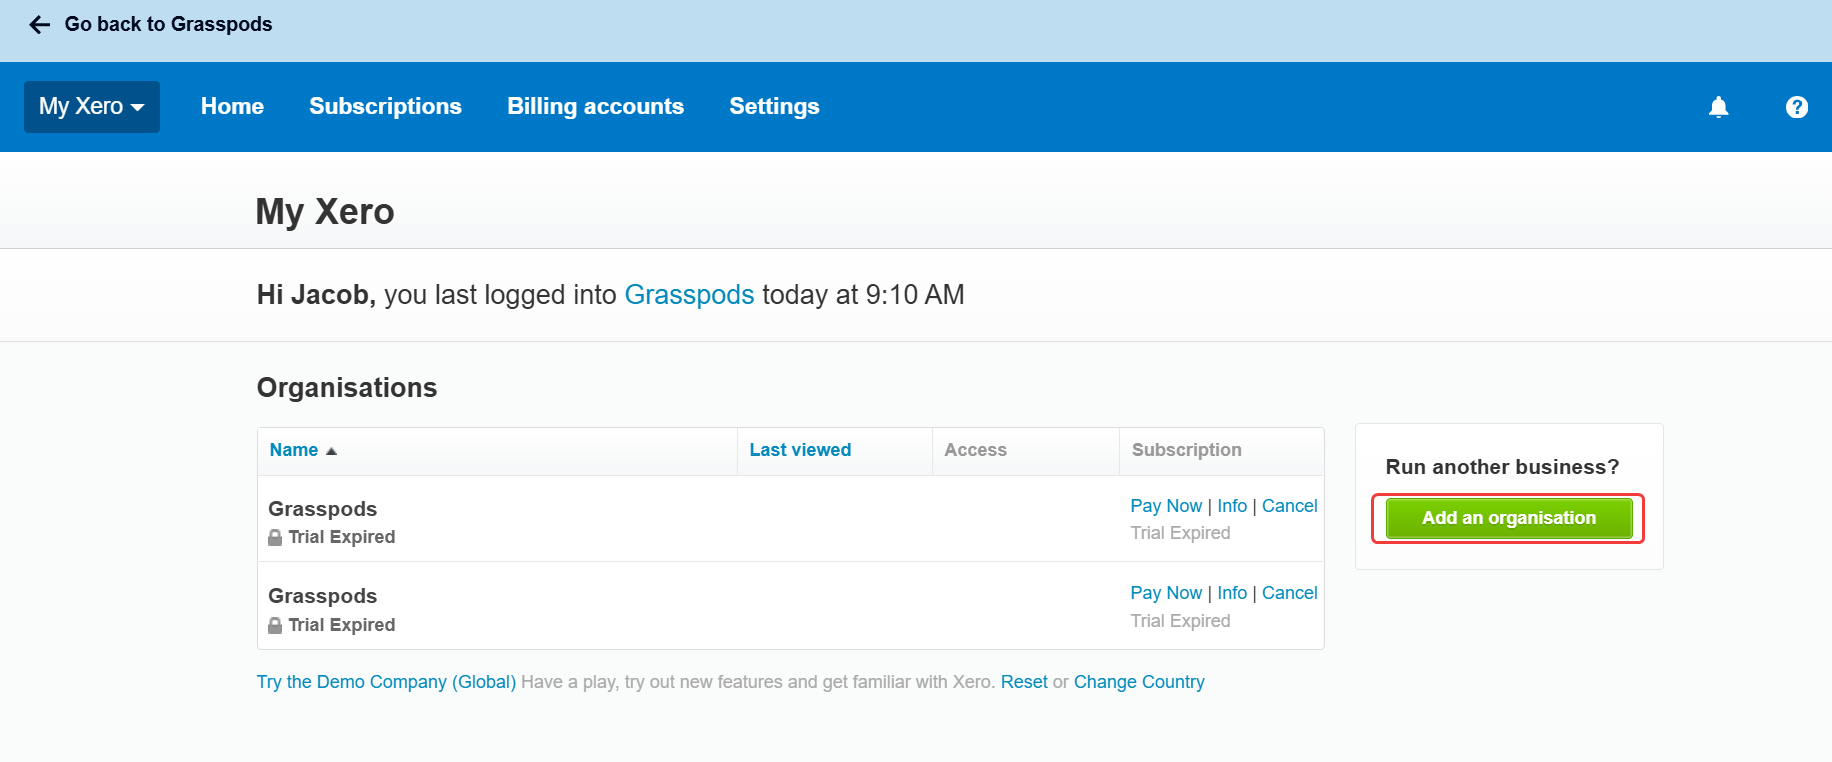
- Click Add an Organization to set up your business if you do not already have one in Xero.
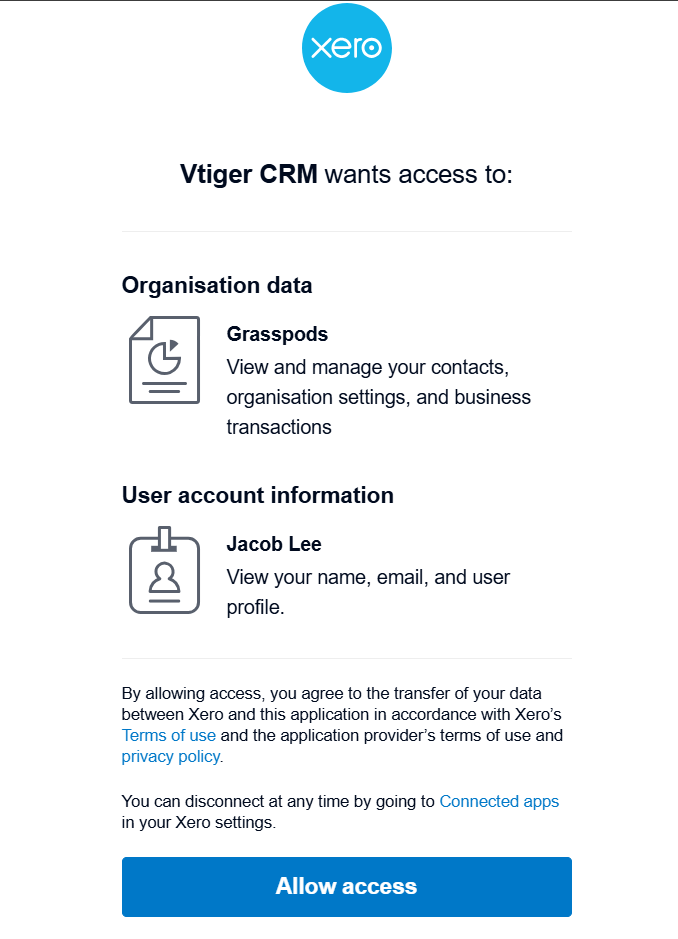
- Go back to Vtiger and click Allow Access.
Step 2: Mapping Fields
You can enable field mapping for different modules from the Xero Configuration Settings page. Go to the Field Mapping section to learn more. You can configure the field mapping for the Products and Services from the Xero Configuration Settings page.
- Click Configure under the Field Mapping column. The Field Mapping window opens.
- Map the field names for the Product Name and Product Number. The other fields are mapped automatically and cannot be edited.
- Click Save.
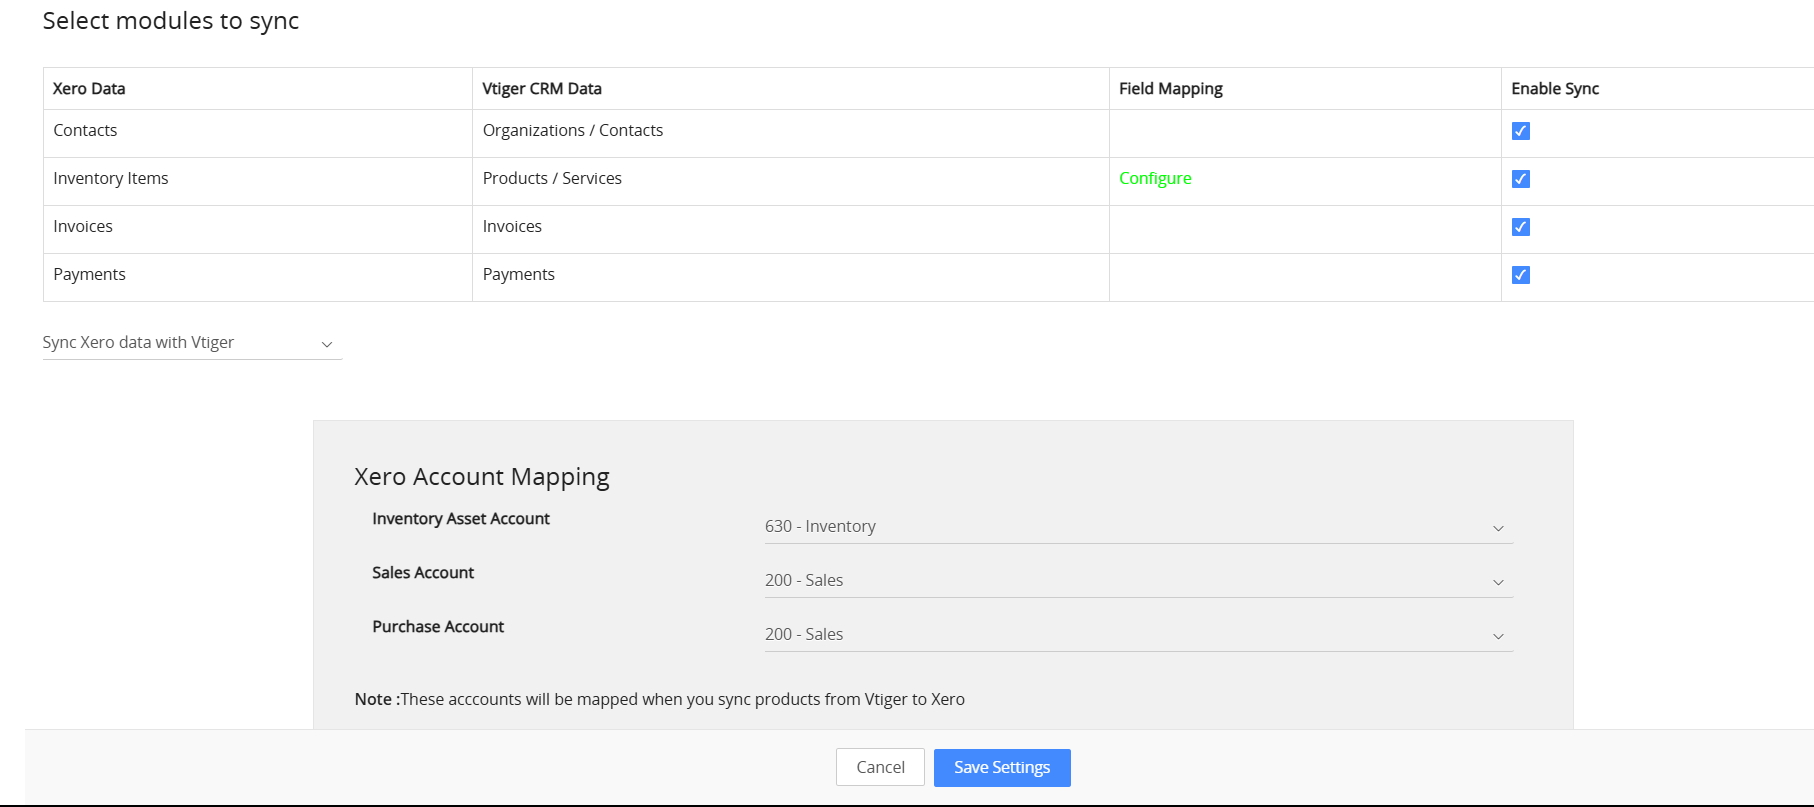
Step 3: Syncing Records
The sync process is as simple as a few clicks. You can enable sync Vtiger Data to Xero from the Xero Configuration Settings page.
- Enable the checkboxes next to the module names to sync them with Xero.
- Select the Sync Direction from the following options:
- Xero to Vtiger: This is a one-way sync. It moves Xero data into Vtiger CRM.
- Vtiger to Xero: This is a one-way sync. It moves Vtiger data into Xero.
- Both Ways: This is a two-way sync. It transfers data between Xero and Vtiger CRM.
Note:
- If the Sync Direction is Xero to Vtiger, the items in Xero's Inventory module are added to the Products module in Vtiger.
- When a Quote is created or updated in Vtiger, it is automatically synced with Xero.
- If a Quote is converted to an Invoice in Xero, it will be updated in Vtiger accordingly.
- If a Vtiger Invoice does not contain a Contact Name or Organization Name, you cannot sync it with Xero.
- If a line item does not have an item name while syncing invoices from Xero to Vtiger, an invoice record with the name ?????? is created in Vtiger.
- If an invoice synced from Vtiger to Xero includes a Group Discount, it is skipped, and a skipped error message is displayed. This is because Xero does not support group discounts.
- If a Vtiger invoice includes a Group Tax, all selected taxes in Vtiger should be available in Xero as a Combined Tax. If not, the Invoice is skipped, and a skipped error message is displayed.
- Only Sales Invoices are synced from Xero to Vtiger.
- Individual discounts from Vtiger are mapped to their corresponding line-item discounts in Xero.
- Since Xero only supports individual taxes, you must create invoices with the tax type set to Individual.
- If Deducted Taxes are enabled on a Vtiger invoice, the Invoice is skipped, and an error message is displayed.
- If an Xero invoice only lists charges and does not include an item name, its unit price is mapped to Vtiger Shipping Charges, and related taxes are mapped to Vtiger Shipping Taxes.
- Shipping & handling charges from Vtiger are added in Xero as a line item under Charges.
Step 4: Mapping Accounts
After you select the sync direction, you need to map different inventory accounts under the Xero Account Mapping section.
Map the following accounts from the Xero Configuration Settings page:
- Inventory Asset Account: Select your Asset account.
- Sales Account: Select your Sales account.
- Purchase Account: Select your Purchase account.
- Payments Account: Select your Payment account.
Note: These accounts will be mapped when you sync products from Vtiger to Xero.
You can also configure Xero using the steps below:
- Log in to your CRM account.
- Go to the main Menu.
- Go to one of the modules mentioned above. The List View opens.
- Click Sync.
- Select Xero.
- Click Configure. The system will prompt you to enter your email and password.
- Enter your email ID and password for your Xero Account.
- Click Authenticate.
- Click Allow Access.
You will be redirected to the CRM screen to configure Field Mapping and Sync Settings.
Note: To prevent skipping records, only sync data from one module at a time. For instance, if you're syncing Organization data, avoid starting the Invoices sync at the same time, as some invoices may depend on related Organization records. This way, you ensure all required data is available for syncing without skipping any records.
Syncing Manually
You can sync data between Vtiger and Xero manually from the related modules.
- Log in to the CRM.
- Go to the main Menu.
- Go to Organizations/Products/Invoices/Payments by following the paths below:
- Menu > Essentials > Organizations.
- Menu > Inventory > Products/Invoices/Payments.
- Click Sync in the List View. The Sync with the 3rd-party integrations window opens.
- Click Sync Logs of the Xero integration. The Xero Sync Logs page opens.
- Click Sync Now to manually sync data and see the latest sync log.
Use Case
You can sync a sales account for an invoice from Xero to Vtiger and vice versa. During the sync process,
- An invoice record is created in Vtiger, accompanied by a default line item field called Xero Sales Account in the invoice line items.
- The value of the Xero Sales Account field is synced with Xero invoices because it maps directly to the invoice account details received from Xero.
This integration ensures a seamless flow of financial data, maintaining consistency between the two platforms.
Note:
You can go to Xero Sync settings from the Sync Log page by clicking Sync Settings.
You can unauthorize Xero from the Sync Log page to remove Xero integration from Vtiger.
Viewing Sync Logs
You can view Sync Logs from the Sync View in the following modules:
- Organizations
- Products
- Services
- Invoices
- Quotes
- Payments
Follow the steps below to view the Sync Logs:
- Log in to the CRM.
- Go to the main Menu.
- Click Organizations under the Essentials app. The List View opens.
- Click Sync in the List View. The Sync with the 3rd-party integrations window opens.
- Click Sync Logs of the Xero integration. The Xero Sync Logs page opens.
Here you can view the sync log as follows:
- Date: Displays the sync date.
- Time: Displays the sync time.
- Module: Displays the Vtiger module synced for the specified date and time.
- Created: Number of records created in a module sync in Vtiger and in Xero.
- Updated: Number of records updated in a module sync in Vtiger and in Xero.
- Skipped: Number of records skipped in a module sync in Vtiger and in Xero.
Unauthorizing the synchronization
You can unauthorize your Xero account if you no longer want to sync records between Xero and Vtiger CRM.
Note: If you wish to enable syncing again, you must reauthorize your Xero account.
Follow these steps to unauthorize your Xero in Vtiger CRM:
- Log in to the CRM.
- Go to the main Menu.
- Go to Organizations/Products/Invoices/Payments by following the paths below:
- Menu > Essentials > Organizations.
- Menu > Inventory > Products/Invoices/Payments.
- Click Sync in the List View. The Sync with the 3rd-party integrations window opens.
- Click Sync Logs of the Xero integration. The Xero Sync Logs page opens.
- Click Unauthorize (your organization name added is displayed). The Xero Authentication page opens.
Limitations
- If there are duplicate products, services, or organizations in Vtiger, and you try to sync them with Xero, only one record is created in Xero for all the duplicates.
- Taxes are synced from Xero to Vtiger. If you have a tax with the same name in Vtiger and Xero, Xero overwrites the existing Vtiger tax rate.
- Combined Taxes and Compound Taxes from Xero are copied to Vtiger as a single tax with an effective tax rate.
- If you want to delete all the organizations and invoices synced from Xero to Vtiger.
- All related contacts in Xero are created as contact records in Vtiger and linked to their respective organizations.
- If a Vtiger invoice includes Shipping Charges and a Shipping Tax percentage, a Description called Charges is created in Xero.
- Line items in a Vtiger invoice must have the same tax names and rates as those available in Xero for individual and group tax types.
- If your instance is undeployed or inactive, the Xero integration with Vtiger will be disconnected (revoked).
- Mandatory field values in Vtiger get synced only when they have values in Xero and vice versa.
- For example, the Product Category field is mandatory in Vtiger but not in Xero. During the Sync, the field maps to Xero only if it contains data. Otherwise, it fails to map and skips the synchronization process.
Troubleshooting Tips
Below are a few common errors users often face during the sync process:
Invoices
Vtiger Invoices should be related to a Contact or an Organization in Xero. The Vtiger Invoice must be linked to a Contact or Organization in Xero.
Follow the steps below to link a contact or an organization to the invoice:
- Log in to the CRM.
- Go to the main Menu.
- Go to Inventory > Invoices Module. The List View opens.
- Click and open an Invoice record. The Summary View opens.
- Click Edit.
- In the Basic Information section, enter related Contact and related Organization information.
- Click Save.
Note: You can perform the above action for a skipped invoice and resync data.
Vtiger Invoices may include tax values or combined taxes that are not available in Xero. Xero only accepts taxes generated within its system and does not support combined taxes. To resolve this issue, follow the steps below:
- Log in to the CRM.
- Go to the main Menu.
- Go to Inventory > Invoices Module. The List View opens.
- Click and open an Invoice record. The Summary View opens.
- Click Edit.
- Go to the Item Details block.
- Remove the taxes created by Vtiger.
- Click Save.
- Go to the Xero Sync Log from the Invoices List View. Refer to the Viewing Sync Logs section.
- Click Sync Now.
Vtiger Invoices has individual taxes that are not available in Xero.
Xero only permits taxes that are created within its system. You can only select one Xero-created tax for each product on an invoice. Choosing multiple taxes will result in an error during synchronization. To ensure proper tax settings, follow these steps:
- Log in to the CRM.
- Go to the main Menu.
- Go to Inventory > Invoices Module. The List View opens.
- Click and open an Invoice record. The Summary View opens.
- Click Edit.
- Go to the Item Details block.
- Ensure that only one Xero-created tax is enabled at the product level. If more than one tax is present, remove the additional taxes by setting their value to 0.
- Click Save.
- Go to the Xero Sync Log from the Invoices List View. Refer to the Viewing Sync Logs section.
- Click Sync Now.
Note: Invoices must include specific date fields, such as Invoice Date and Due Date, to sync successfully with Xero.
Products
Inventory Items with the Code provided are already in use (or) Account code does not exist or cannot be applied to items.
Avoid using system accounts in Xero for sales and purchase transactions, as they are locked. Selecting the wrong account can lead to financial inaccuracies. Use only appropriate non-system accounts.
To resolve this issue, follow the steps below:
- Log in to the CRM.
- Go to the main Menu.
- Go to Inventory > Products Module. The List View opens.
- Click and open a Product record. The Summary View opens.
- Click Edit.
- Update the Xero Sales and Xero Purchase Account fields with valid accounts as values.
- Click Save.
- Go to the Xero Sync Log from the Invoices List View. Refer to the Viewing Sync Logs section.
- Click Sync Now.
Organizations
Additional people cannot be added when the primary person has no email address set in Xero.
This occurs when you attempt to add multiple contacts to an organization when the primary contact does not have an email address. To resolve this issue, follow the steps below:
- Log in to the CRM.
- Go to the main Menu.
- Click Organizations under the Essentials app. The List View opens.
- Click and open an Organization record. The Summary View opens.
- Please verify that all related contacts have added their primary email fields.
- If any linked contacts do not have a primary email address, update their email address, or unlink them from the organization.
- Click Save.
- Go to the Xero Sync Log from the Invoices List View. Refer to the Viewing Sync Logs section.
- Click Sync Now.
Other Troubleshooting Tips
The following are the other common troubleshooting tips:
- The Please reauthenticate popup or the Token has expire - This indicates that the connection to Xero is no longer valid. You need to disconnect the current Xero account, company, or organization, and then reconnect by reauthorizing it.
- An existing contact could not be found using the specified contact details. The contact name field is required to create a new contact.
- If a contact isn't found or created, the associated organization isn't synced with Xero. First, ensure the organization exists in Xero, as contacts can only sync if the organization is present. Also, ensure the contact name is filled in when creating a new contact.
- The Account type is invalid for making a payment to/from, which occurs when an incorrect account type is used for payments in Xero. Use a properly categorized bank or cash account for transactions to resolve this issue.
- The Payments can only be made against Authorized documents. An error occurs when attempting to process a payment not linked to an approved invoice or bill in Xero. Check for skipped invoices during synchronization and ensure all related documents are authorized before payment.
- The Invoice is not valid for modification. An error occurs when you attempt to edit an already approved invoice, as approved invoices cannot be altered in Xero.
- The Account code or ID must be specified. An error occurs when a product on an invoice lacks an associated sales account code. To resolve this, log in to Xero, open the skipped Invoice, and provide the missing sales account information for the product.
- The No items available to sell error occurs when a product in Xero has zero quantity or isn't recognized as an inventory item. To fix this, follow the steps below:
- Log in to your Xero account.
- Navigate to Business > Products and Services.
- Go to the skipped product > select New Adjustment > increase the quantity on hand > and save the changes.
- This will make the product available for sale.
- The tax code output cannot be used with account code '312'. This error occurs when an expense account is linked to a revenue tax type. To fix this, ensure the tax code matches the account type or adjust the account to align with the tax type.
- The Only 1 item available to sell message indicates that only one product unit is left in stock in Xero. To resolve this, you need to increase the stock level in Xero.
- The field 'Code' is required, but no value was sent. This error means you must enter the product code in Xero. When linking a part number to a product, ensure both the Code and Part Number are provided; otherwise, Xero will throw this error.