Articles in this section
Using the Employee Portal
Introduction
Vtiger’s Employee Portal is a centralized platform designed to simplify internal support for you. It enables you to report issues, track their status, and receive real-time updates—all in one place.
Once your CRM admin enables portal access, you will receive login credentials via email. With just a few steps, you can log in and start raising Internal Tickets for IT, payroll, facility, or any other internal concerns.
Benefits of the Employee Portal
The following are the benefits of the Employee Portal:
- Centralized Issue Reporting: Employees can raise and track Internal Tickets from a single platform, making issue management more organized and efficient.
- Real-Time Ticket Visibility: Employees receive instant updates on ticket progress, reducing the need to follow up via emails or calls.
- Enhanced Transparency: Provides employees with a clear history of their requests and responses, building trust and accountability.
In this article, you will learn about:
- Logging in to the Employee Portal
- Changing Portal Password
- Editing Profile details
- Creating an Internal Ticket on the Employee Portal
- Editing an Internal Ticket
- Collaborating on Internal Tickets
- Viewing Internal Tickets
- Closing an Internal Ticket
- Logging out of the Employee Portal
Logging in to the Employee Portal
You will receive your login credentials via email sent by Vtiger CRM.
The email will contain the following information:
- URL: A link to access the Employee Portal login page.
- Username: Your registered email address.
- Password Setup Link: A link to set your portal password.
Follow these steps to log in to the Employee Portal: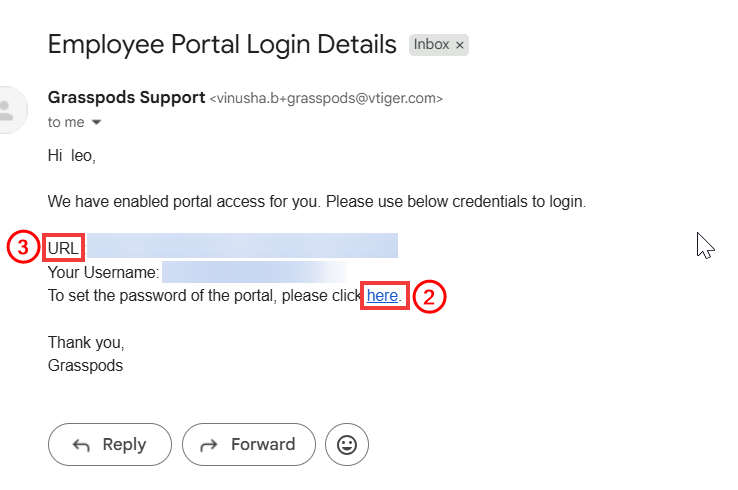
- Open the email sent from Vtiger with your login details.
- Click the provided Password Setup Link to set your portal password.
- After setting your password, click the URL link to navigate to the Employee Portal login page.
- Enter your Username (your email address) and the password you set.
- Click Sign In.
Note: You can change the password provided by Vtiger CRM.
Changing Portal Password
It is recommended to change the password after the first login.
Follow these steps to change your password:
- Log in to the Employee Portal.
- Click the Person icon on the top right corner of the screen.
- Select Change Password.
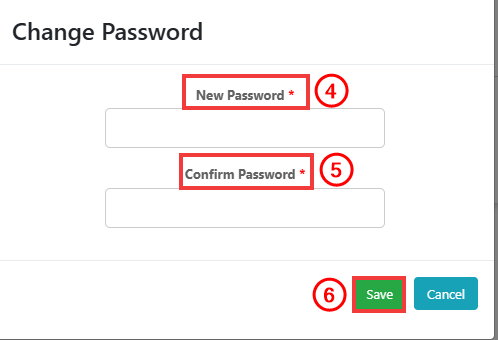
- Enter your new password.
- Confirm your new password.
- Click Save.
Note: You must create a strong password to ensure the security of your account. Vtiger recommends that your password include the following:
- Eight characters
- One number
- One uppercase letter
- One lowercase letter
- One special character
Editing Profile Details
Your profile details replicate the information stored in the contact record in the CRM. The changes are reflected in the CRM record whenever you change your details from the portal profile.
Follow these steps to edit your profile details:
- Log in to the portal.
- Click the Person icon on the top right corner of the portal.
- Select Profile.
- Click Edit to change the profile details.
- Click Save.
Creating an Internal Ticket on the Employee Portal
An Internal Ticket is used to report a concern, request, or query to your internal support team. For example, if you have an issue with your office workspace, you can create a ticket for resolution.
Note: Internal tickets created in the portal are recorded in the CRM’s Internal Tickets module. Updates made to the tickets in the CRM are reflected in your portal.
To learn more about Internal Tickets in Vtiger CRM, click here.
Follow these steps to create an Internal Ticket from the employee portal:
- Log in to the employee portal.

- Click the Add Ticket button located on the right side. The Adding new Ticket window opens.

- Enter or select the following information:
- Summary: Explain the issue in this field.
- Internal Ticket Title: Describe the issue briefly in this field.
- Status: Set to New by default and cannot be edited.
- Priority: Set the priority of the issue.
- Primary Email: Enter your company email address in this field.
- Click Save.
Note: Additional fields may appear in the ticket depending on how your CRM admin has configured the portal.
Editing an Internal Ticket
After creating a ticket, you may need to edit its details, such as updating the description or priority.
Follow these steps to edit Internal Tickets:
- Log in to the employee portal. The List View of Internal Ticket opens.
- Click the ticket you want to edit.
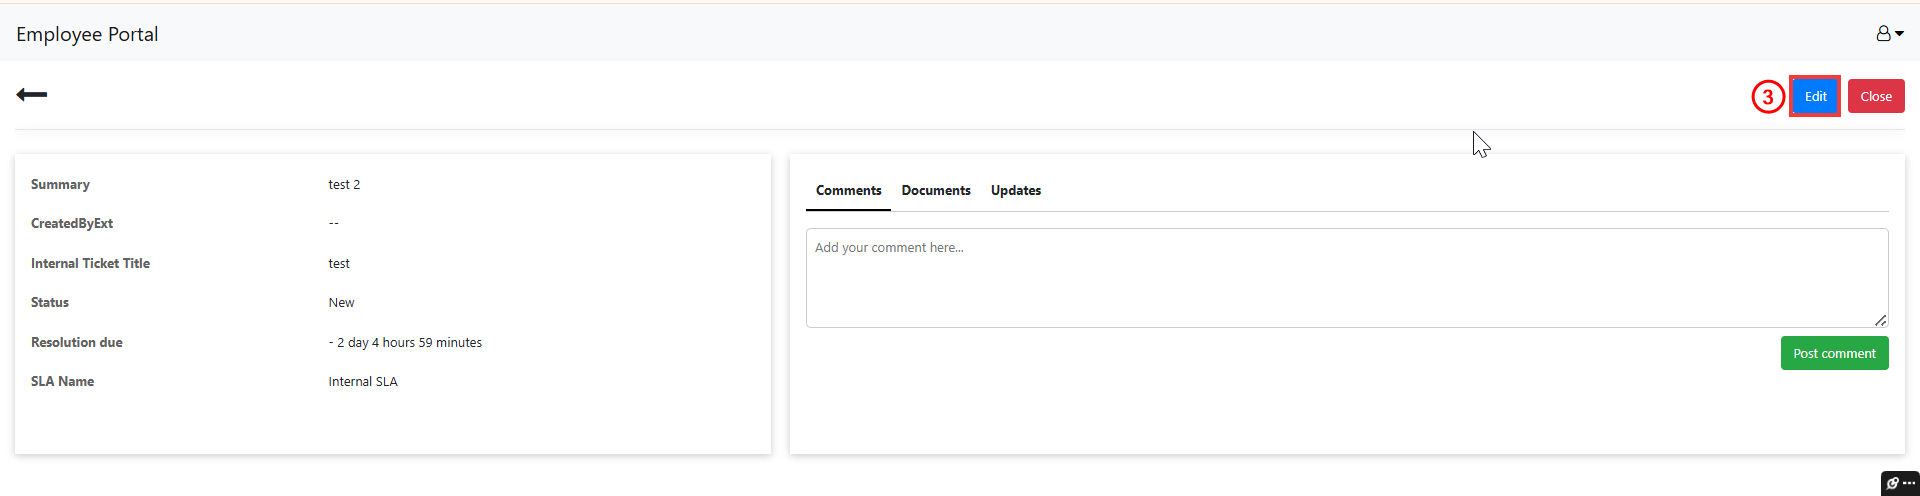
- Click the Edit icon. The edit page opens.
- Update the necessary fields, such as Summary or Priority.
- Click Save.
Note: You can only edit certain fields. You cannot manually change the ticket status.
Collaborating on Internal Tickets
After creating or editing a Ticket, you can:
- Add comments to share updates or respond to queries.
- Upload documents relevant to the issue.
- View ticket activity to track updates made on the ticket.
Add Comments
Follow these steps to add comments:
- Log in to the Employee Portal.
- Open the Ticket you want to comment.
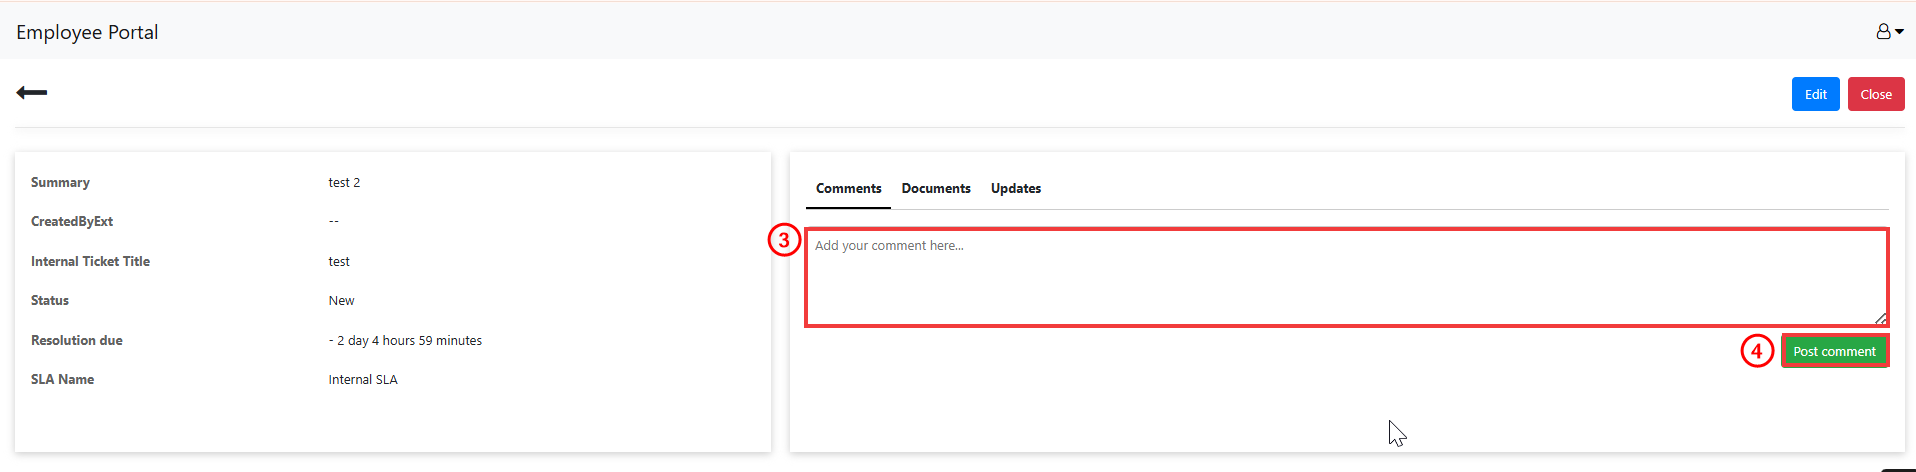
- Type your message in the Comments section.
- Click Post Comment.
Note: Comments added from the portal are visible in the CRM under the respective ticket’s Activity section.
Add Documents
Follow these steps to add comments:
- Log in to the Employee Portal.
- Open the Ticket you want to add documents.

- Click the Documents tab.
- Click Upload Documents. The Upload Document window opens.
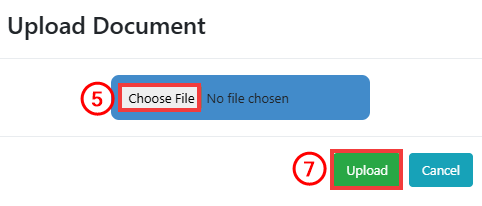
- Click Choose File.
- Select the file from your computer and add.
- Click Upload.
View Ticket Updates
Follow these steps to view ticket updates:
- Log in to the Employee Portal.
- Open the Ticket you want to view ticket updates.
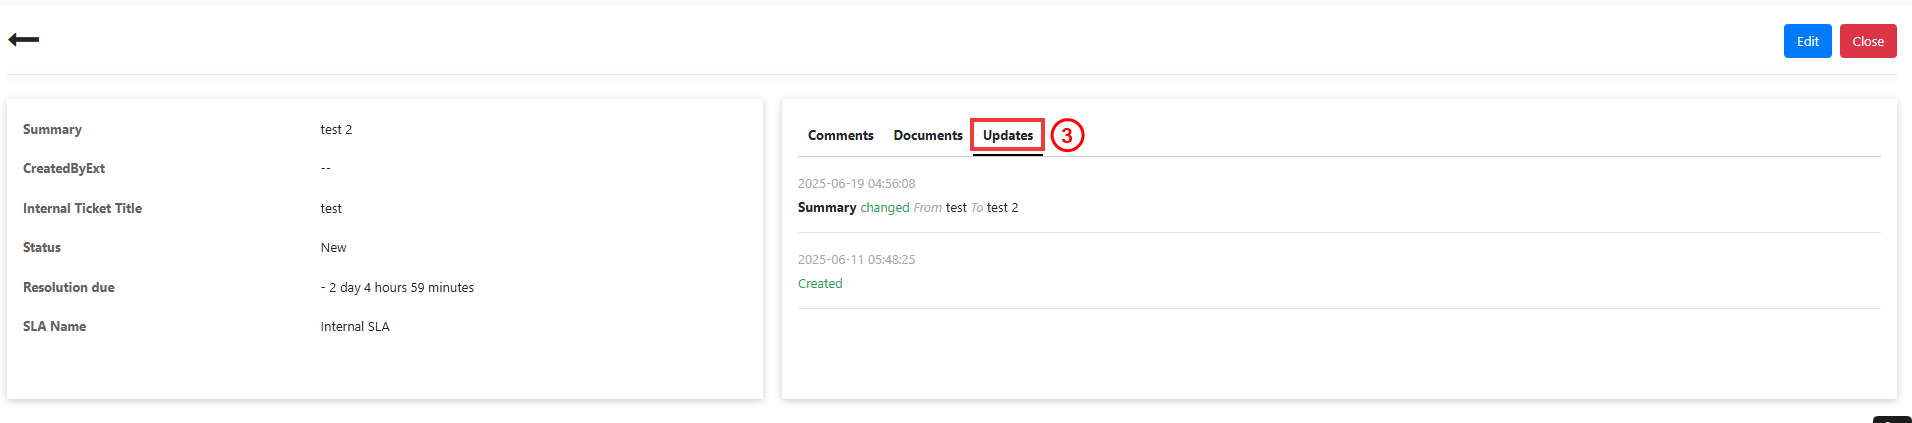
- Click the Updates tab.
- View the Ticket updates along with the date and time.
Viewing Internal Tickets
All Internal Tickets created by you are visible on the portal homepage.
Follow these steps to view Internal Tickets:
- Log in to the employee portal. The List view of the Internal Ticket opens.
- Use the All Tickets dropdown to filter tickets by the following status:
- New: Recently created.
- Open: Created but not yet assigned.
- Assigned: Assigned to someone in the support team.
- Wait for employee: Awaiting your response.
- Wait for 3rd party: Awaiting a third party’s response.
- Resolved: Marked as resolved, but can be reopened.
- Closed: Fully resolved and permanently closed.
- Click the ticket you want to view. The Summary view of the ticket opens.
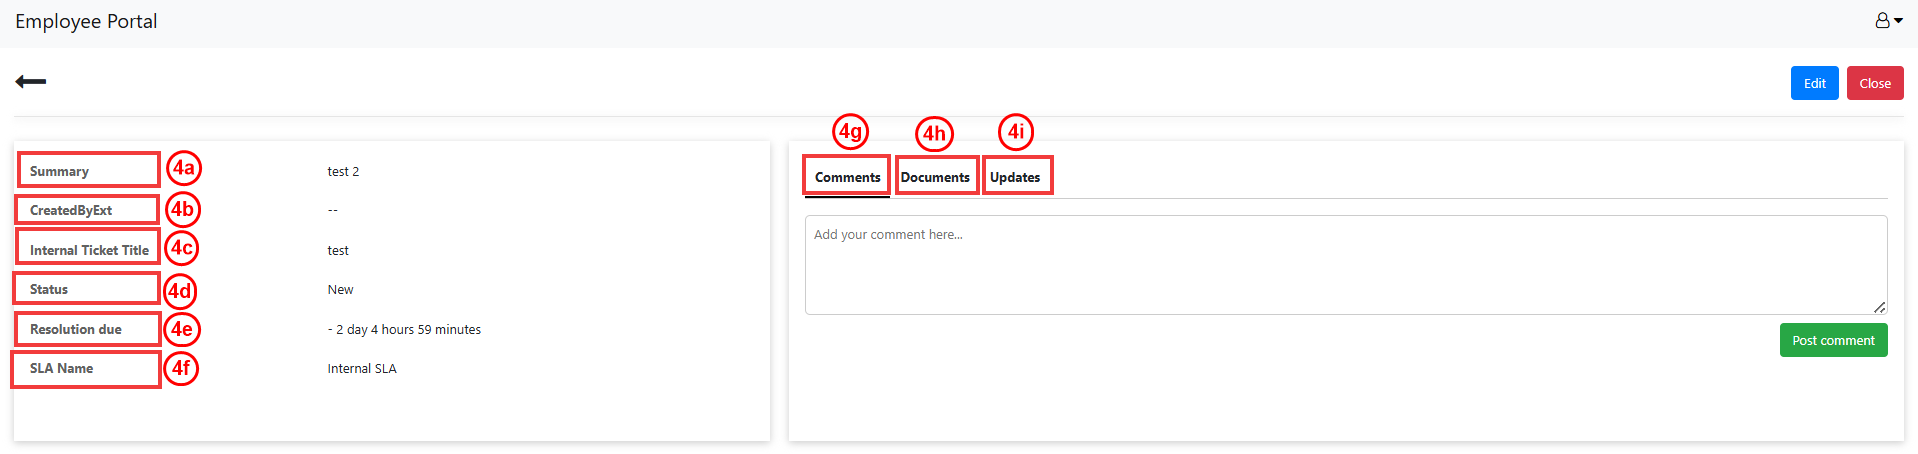
- View the following information:
- Summary: Displays a short description of the issue submitted in the ticket.
- CreatedByExt: Shows the name of the person who created the ticket.
- Internal Ticket Title: Displays the title of the ticket added.
- Status: Indicates the current stage of the ticket (e.g., New, Assigned, Resolved).
- Resolution due: Shows the deadline by which the issue should be resolved as per the SLA.
- SLA Name: Displays the name of the SLA policy applied to this ticket.
- Comments: Allows you to view or add replies and follow-ups related to the ticket.
- Documents: Enables you to attach or view files associated with the ticket.
- Updates: Lists the history of all actions performed on the ticket.
Note:
- You cannot manually change the ticket status.
- You can close a ticket by clicking the Close button. Closed tickets cannot be reopened.
Closing an Internal Ticket
You can close an Internal Ticket from the Employee Portal when no further action is needed.
Follow these steps to close an Internal Ticket:
- Log in to the employee portal.
- Open the Internal Ticket you want to close.
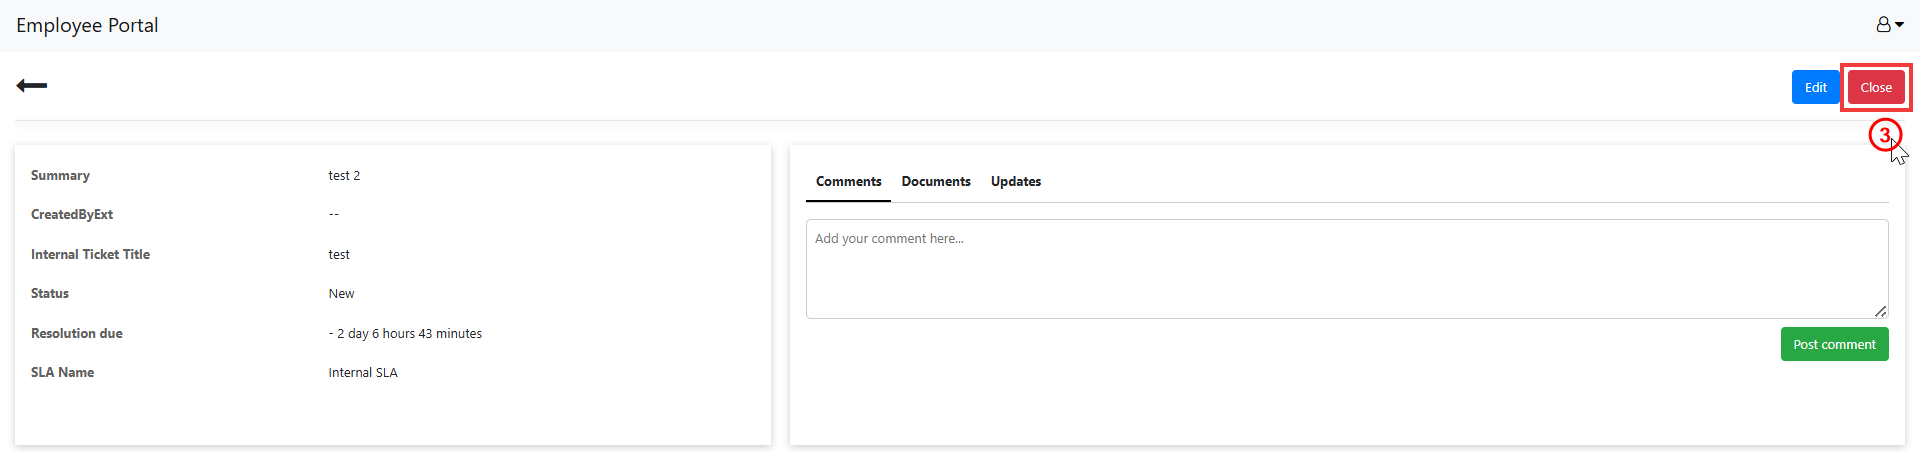
- Click the Close button in the Summary View.
Note: A closed ticket cannot be reopened from the Employee Portal.
Logging Out of the Employee Portal
Follow these steps to log out of the portal: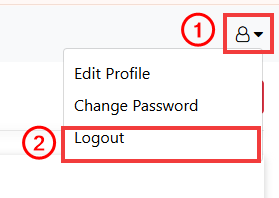
- Click the dropdown on the top-right corner.
- Click Log out.