Articles in this section
Multiple Addresses
Feature Availability
Introduction
The Multiple Addresses module in Vtiger CRM allows you to add multiple addresses for an individual contact, lead, vendor, or organization record.
These addresses can be selected while creating an inventory item, such as an invoice, purchase order, etc., under the address details section.
Why store Multiple Addresses
Having only a primary address for a single organization, lead, vendor or contact with multiple branches can restrict you from sharing inventory items with different branches. By storing addresses of multiple branches, you can share the inventory items only with the concerned branch. This results in faster deal conversions, payments, and other services.
Benefits of the Multiple Addresses module
With the Multiple Addresses module, you can:
- Store any number of addresses for a single organization, lead, vendor or contact.
- Select only the required address for inventory items.
- Send quotes, orders and invoices to an organization's specific office or outlet locations, lead, vendor, or contact.
Key Terminologies
|
|
| |
|
|
| |
|
|
| |
|
|
| |
Installing Multiple Addresses
The Multiple Addresses module is not available by default in Vtiger CRM. Admin users need first to install it from Vtiger Add-ons.
Follow these steps to install the multiple addresses module:
- Login to your CRM account.
- Click the Main Menu.
- Click Add-ons on the bottom left corner of the screen.
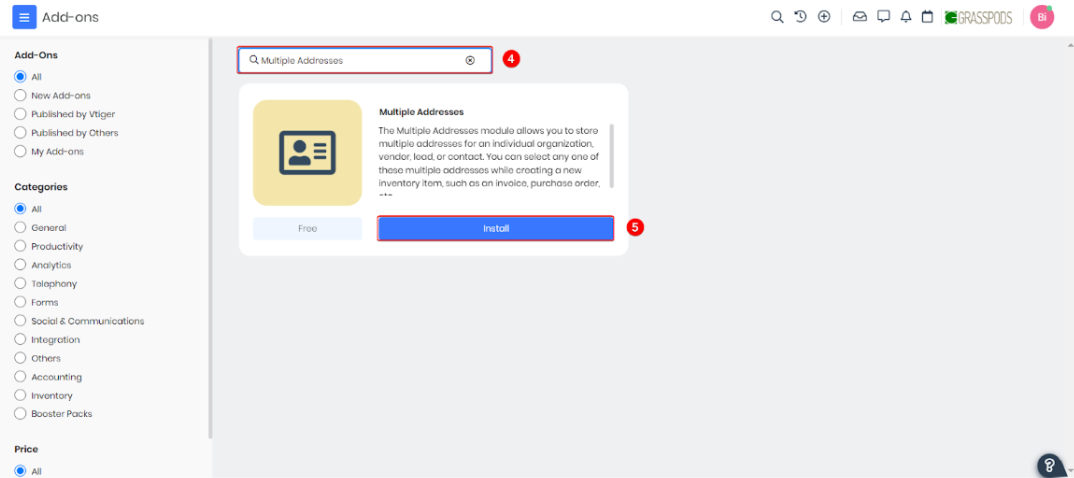
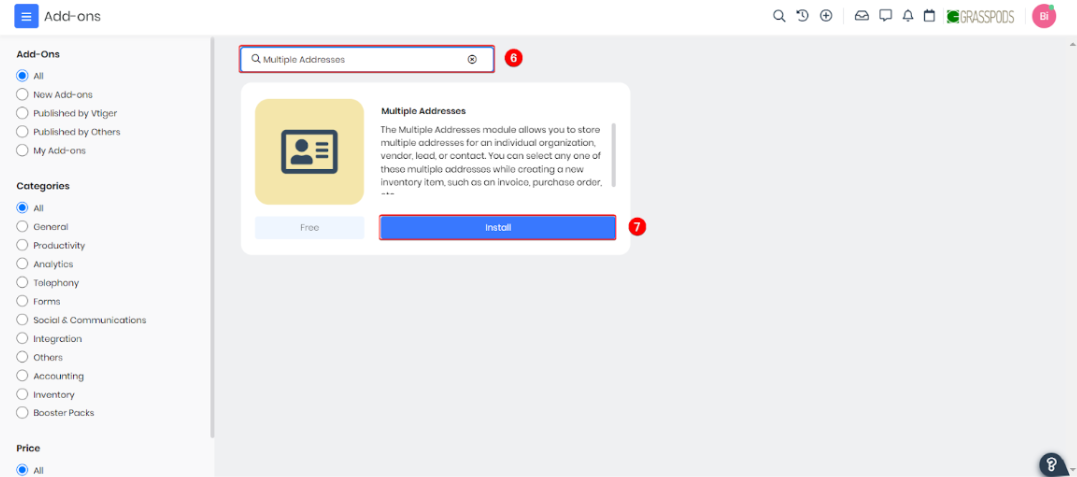
- Search for Multiple Addresses.
- Click Install.
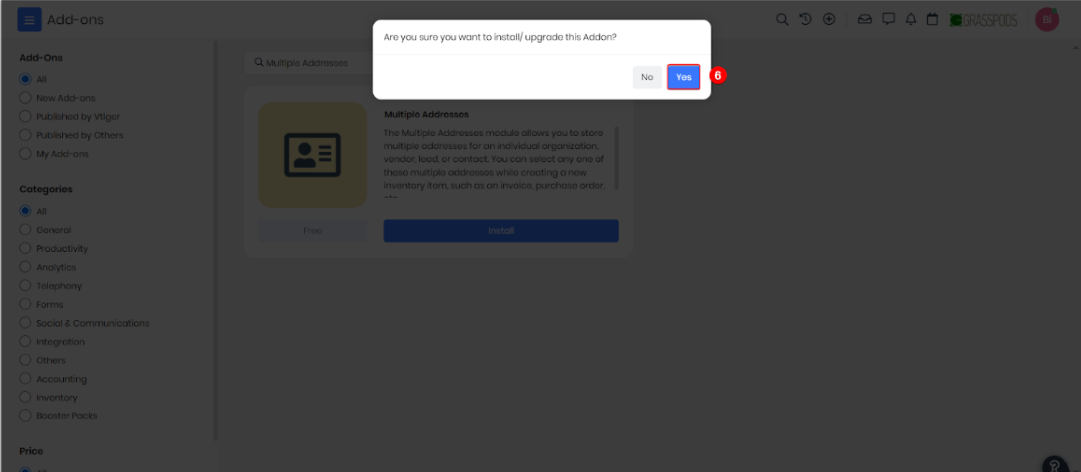
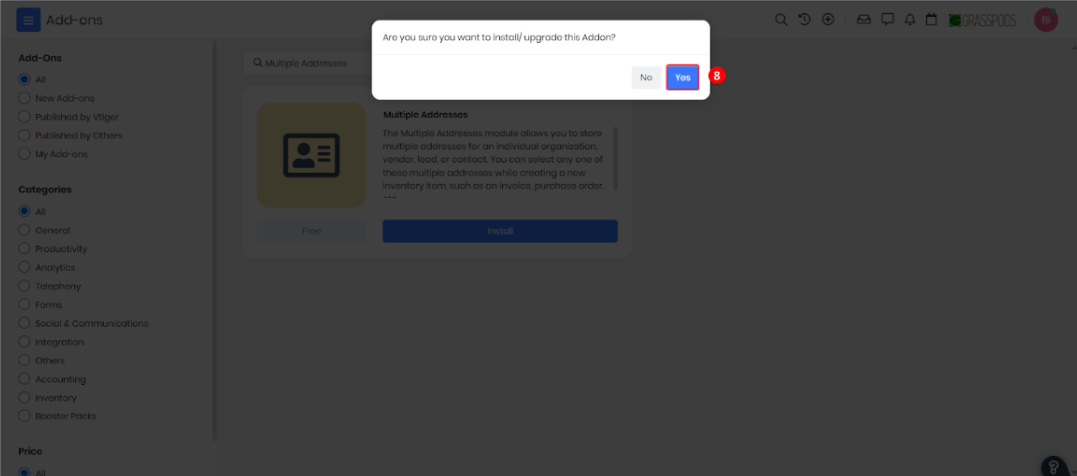
- Click Yes to confirm the installation.
Or
- Login to your CRM account.
- Click the User Menu.
- Click Settings.
- Look for Extensions.
- Click Add-ons.
- Search for Multiple Addresses.
- Click Install.
- Click Yes to confirm the installation.
You have now successfully installed the Multiple Addresses module.
Accessing the Multiple Addresses Module
Follow these steps to access the Multiple Addresses module:
- Log in to your CRM account.
- Click the Main Menu.
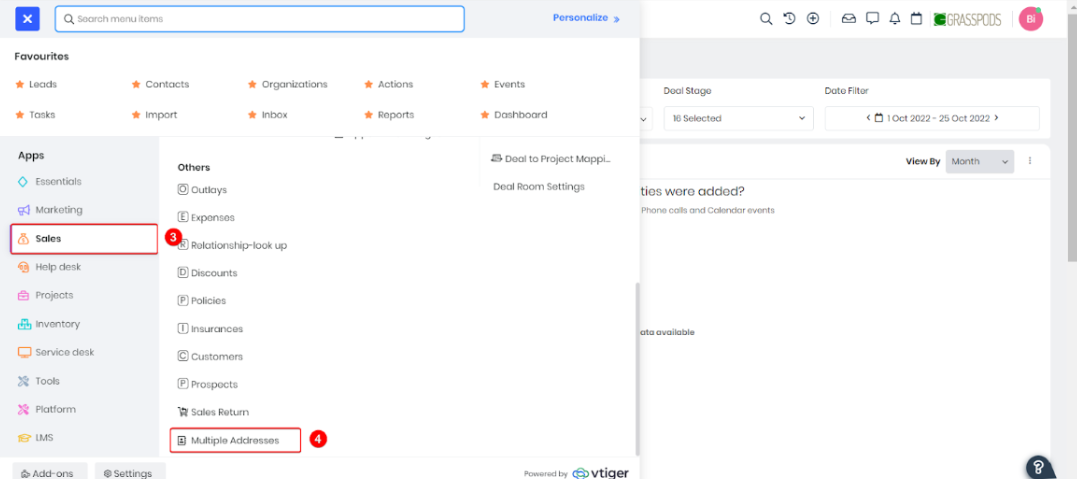
- Click Sales.
- Select the Multiple Address module under Others.
Adding Multiple Addresses
Follow these steps to add multiple addresses to an organization, contact, etc., record.
- Log in to your CRM account.
- Click the Main Menu.
- Click Sales.
- Select the Multiple Address module under Others.
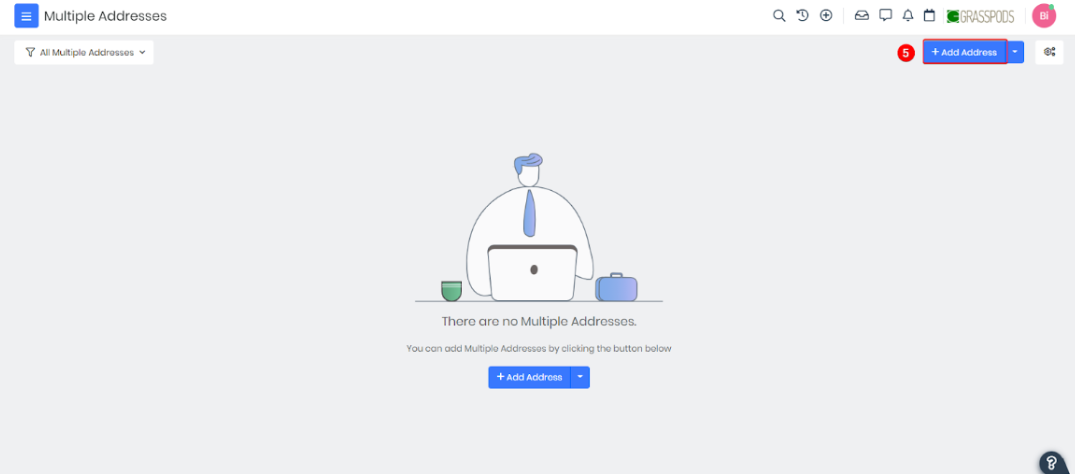
- Click the +Add Address button.

- Enter or select information for the following fields:
- Address Name: Enter a name for the address.
- Related to: Select the record to which the address is related.
- Select the type of record from the drop-down.
- Search and select the required record.
- Click + and Delete buttons to add or delete a record, respectively.
- Address: Enter the complete address.
- City: Enter the name of the city.
- State: Enter the name of the state.
- Country: Enter the name of the county.
- PO Box: Enter the PO box number.
- Postal Code: Enter the postal code.
- Assigned to: Select a user from the drop-down to assign the address.
- Click Save.
You can see the multiple addresses for a record under the Multiple Address tab on the right-hand corner of the screen.
Selecting an Address for an Inventory Item
You can select the required address for an inventory item from the list of multiple addresses while creating a new item. .
For example, consider creating a new invoice for an organization with multiple offices at different locations.
Follow these steps to select an address from the list of multiple addresses:
- Log in to your CRM account.
- Click the Main Menu.
- Go to the Inventory tab.
- Select the Invoices module.
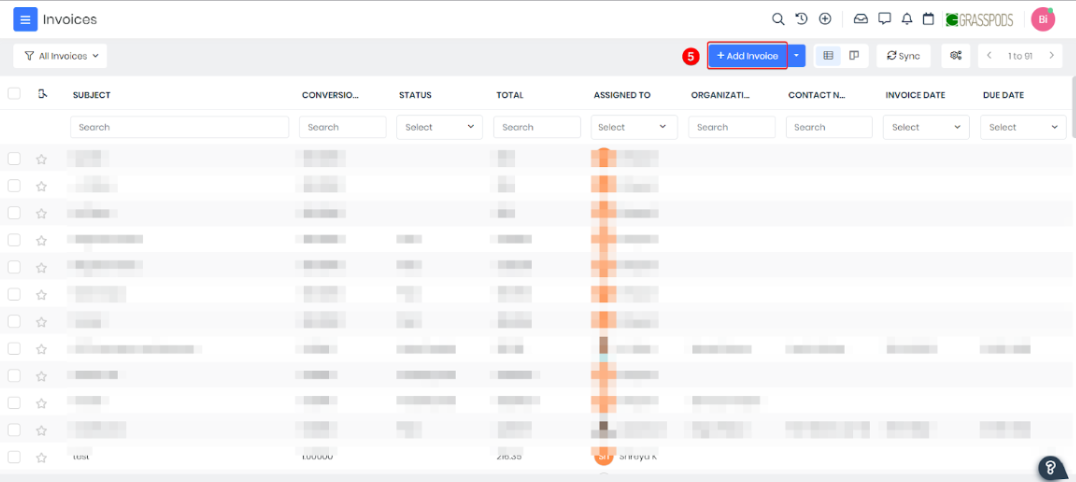
- Click the +Add Invoice button.
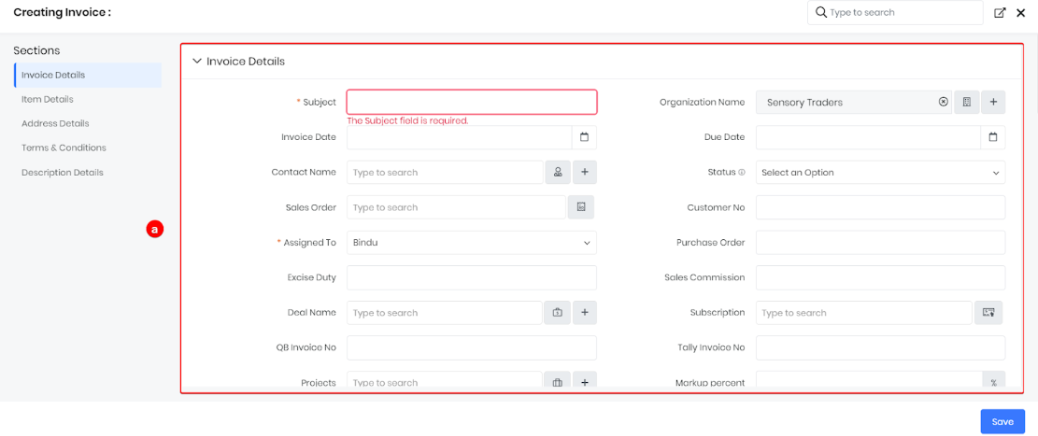
- Enter or select information for the following fields.
- Invoice Details: Enter the details for the invoice.
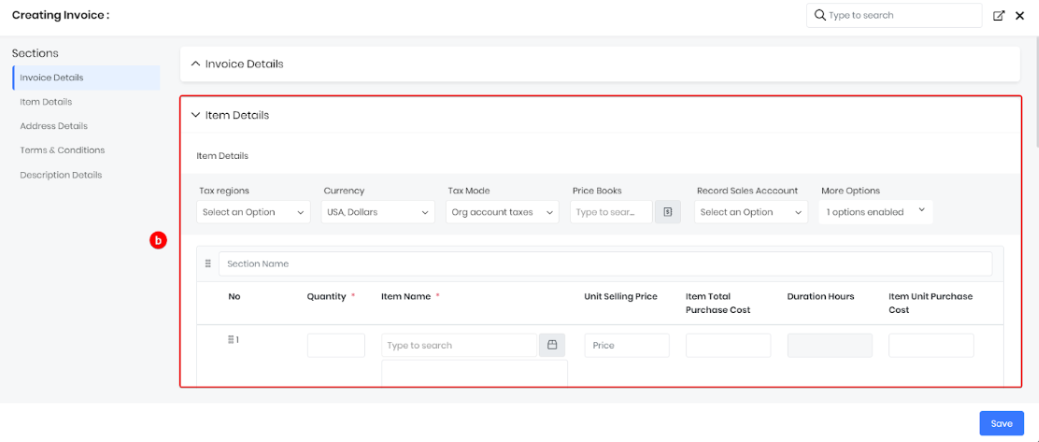
- Item Details: Enter the item's details.
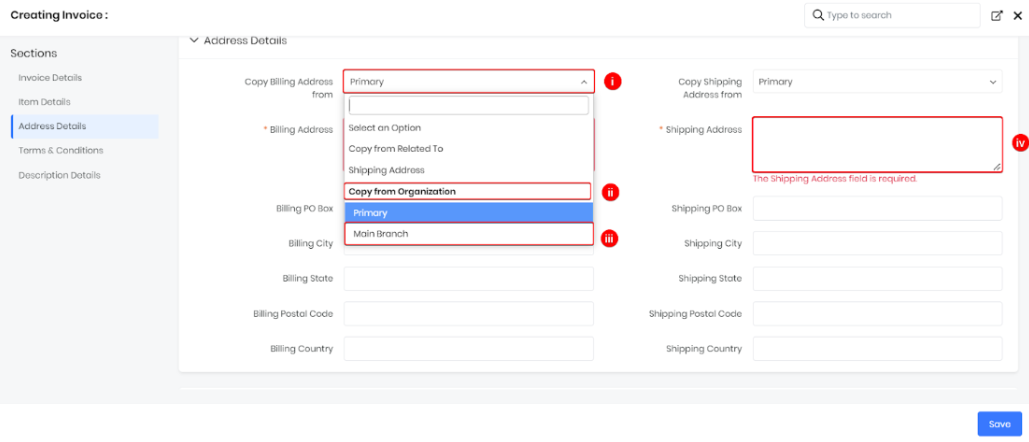
- Address Details: Enter the required details.
- Click the Select Copy Billing Address from drop-down.
- Look for the list of addresses under Copy from Organization.
- Select the required Address from the list.
- Select the required address from the Select Shipping Address from drop-down.
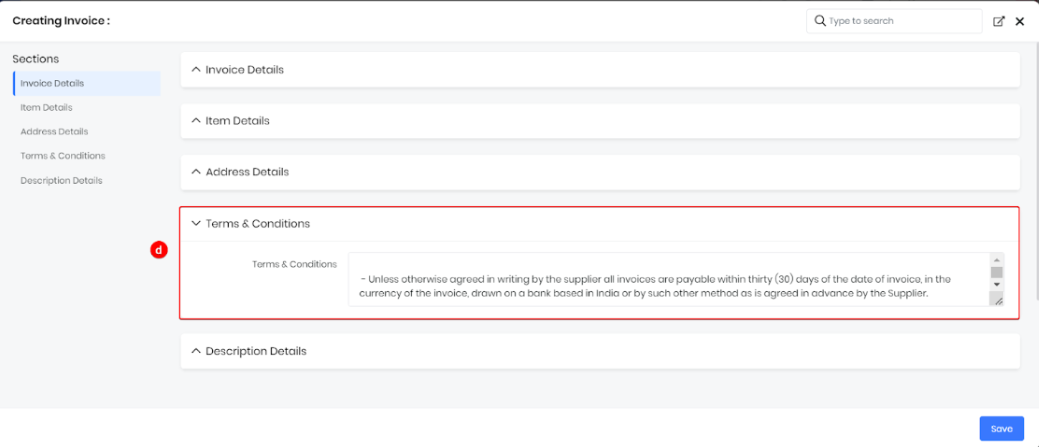
- Terms & Conditions: Enter the terms and conditions for the invoice.
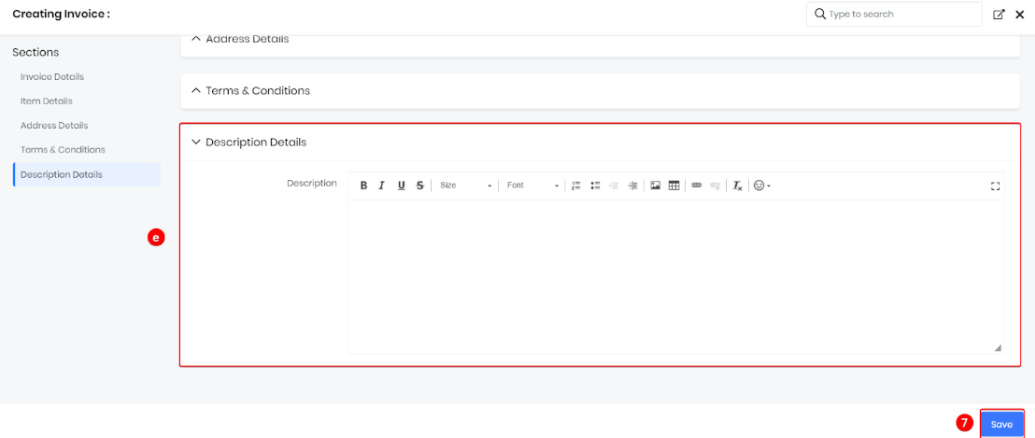
- Description Details: Enter the description for the invoice.
- Click Save. To learn more about creating and managing invoices, click here.
|
|