Articles in this section
Set up a Workflow Action to Create Records
Introduction
The Create Records workflow action creates records in a module when triggered. For example, you can create a workflow that creates a record in the Deals module when a lead’s Status = Hot. However, for the workflow to create records, you must set up the trigger and entry criteria.
To learn more about Workflows in Vtiger CRM, click here.
To learn more about deals, click here.
Consider the above-mentioned example. Let us see how to set up the Create Records action that creates a record in the Deals module when a lead’s Status = Hot.
Setting up the Create Records ActionAccessing the workflow page:
- Click the User Menu on the top right corner of the screen.
- Click the Settings button.
- Look for the Automation section.
- Select Workflows.
- Click the +New Workflow button.
- Select Standard.
Entering basic information:
- Select the Target Module as Leads.
- The Leads module is disabled by default. Follow these steps to enable it:
- Click the User Menu on the top right corner of the screen.
- Click the Settings button.
- Look for the Module Management section.
- Select Modules.
- Find the Leads module and enable its checkbox.
- The Leads module is disabled by default. Follow these steps to enable it:
- Enter workflow name, status, etc.
Select the workflow trigger:
- Select this Workflow Trigger - Lead updated (Includes Creation).
- Choose Every time conditions are met from Recurrence.
Set up the workflow entry criteria:
- Click the +Add Condition button.
- Enter the condition - Lead Status is Hot by following the steps below -
- Select ‘Lead Status’ from the first drop-down and ‘is’ from the second.
- Click on the text area on the right.
- Select Raw text from the drop-down.
- Click on Select an option.
- Choose Hot.
- Click Save.
Set up the action:
- Click the Add Action drop-down.
- Select Create Record.
- This opens a window where you must enter record details.
- Enter the Action Title. For example, Create a deal.
- Select Deals from the Create a record in drop-down.
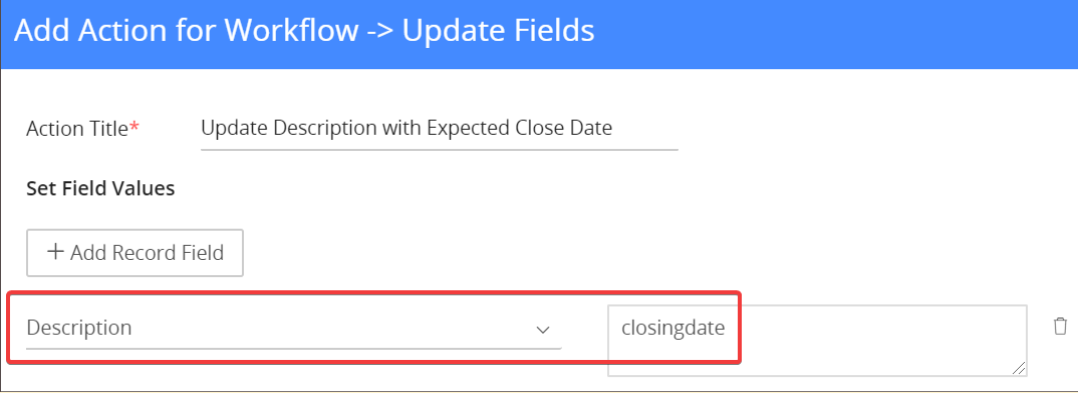
- Enter the values on the right for the fields mentioned on the left.
- Click on the text area on the right.
- Select Raw text from the drop-down.
- Click on Select an option or type the field value.
- Click Save.
- Click the +Add Record Field button to add a new field from the Deals module.
- Follow the steps above to fill out all the mandatory fields.
- Click Save to save the action.
- Click Save to save the workflow.
When you add a new field in Step 17(e), to fill out the field value, you have three options.
- Raw text: You must manually enter the value the field must take.
- Field: When you select this option, you choose a field whose value must be copied to the selected field.
- Expression: This option lets you use the fields to form an arithmetic expression, the value of which will be updated in the selected field. You can also use ready-made functions from the Use Functions drop-down.
- After selecting the function, enter field names in the function placeholders from the Use Field drop-down. For example, concat(first name, last name) is a function that connects the first and last names.
- To learn more about expressions or functions, click here.
|
|